After installation these things You can start local setup configuration with tools
Following Bellow:
- First install Xampp server
- Install Git
- download file (Ex. sremv3.ctpltest.io) to provided by System Admin
Follow these steps:
Step 1: Go that path where xampp server is install.
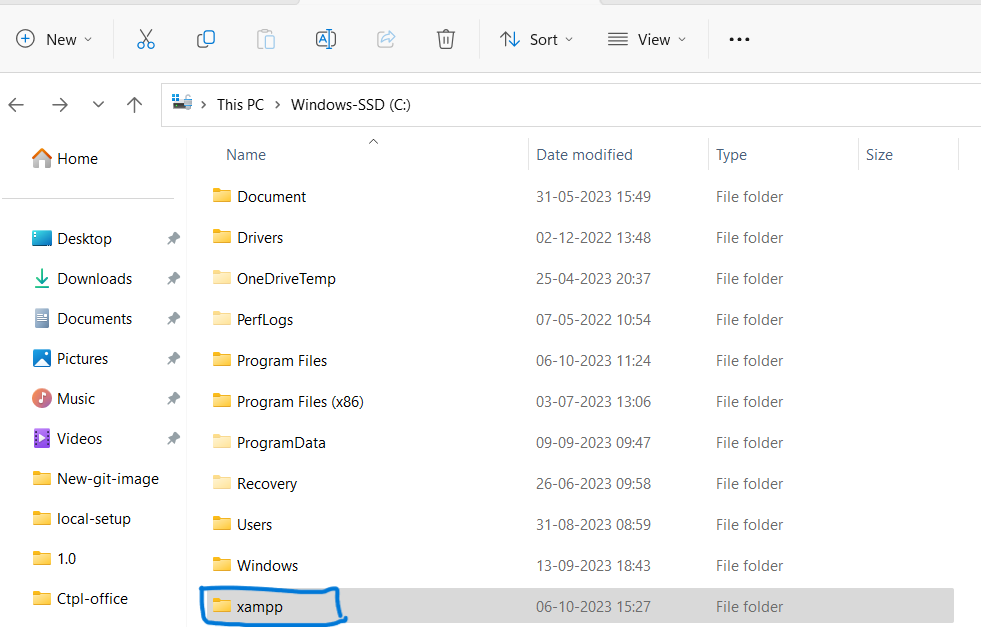
Step 2: click on xampp folder after that go in htdocs folder and double click on that.
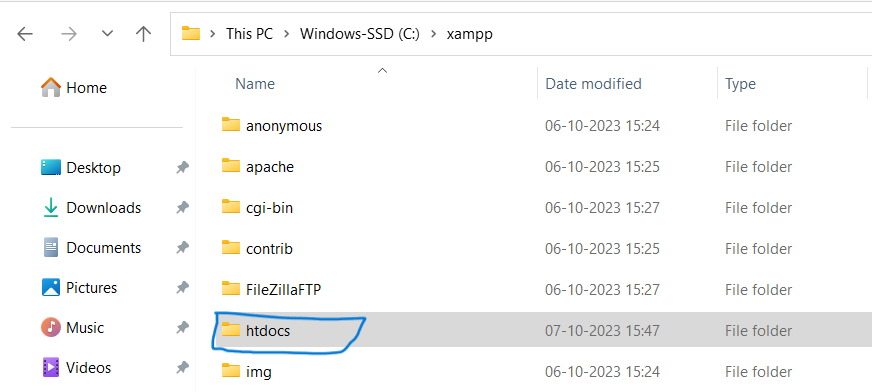
Step 3: click on htdocs >> create_folder >> project name
For example: htdocs >> sremv3stage(folder name)
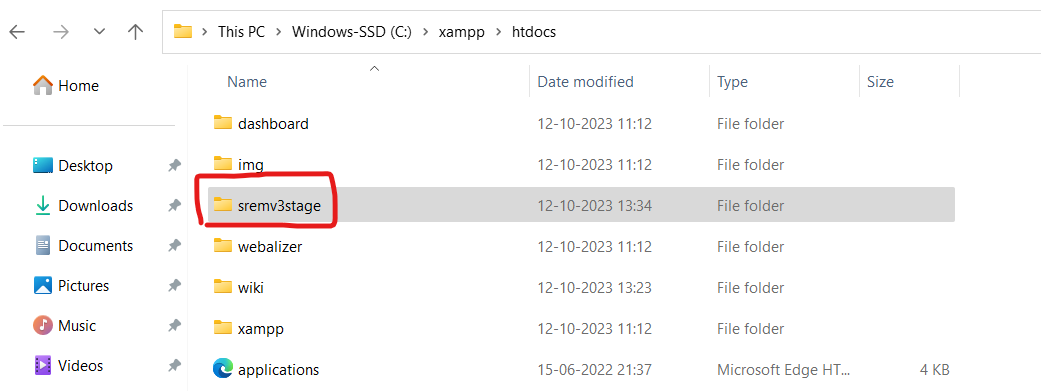
Step 4: Go inside Project folder(sremv3stage)>> right click on mouse and then open Git Bash Here.
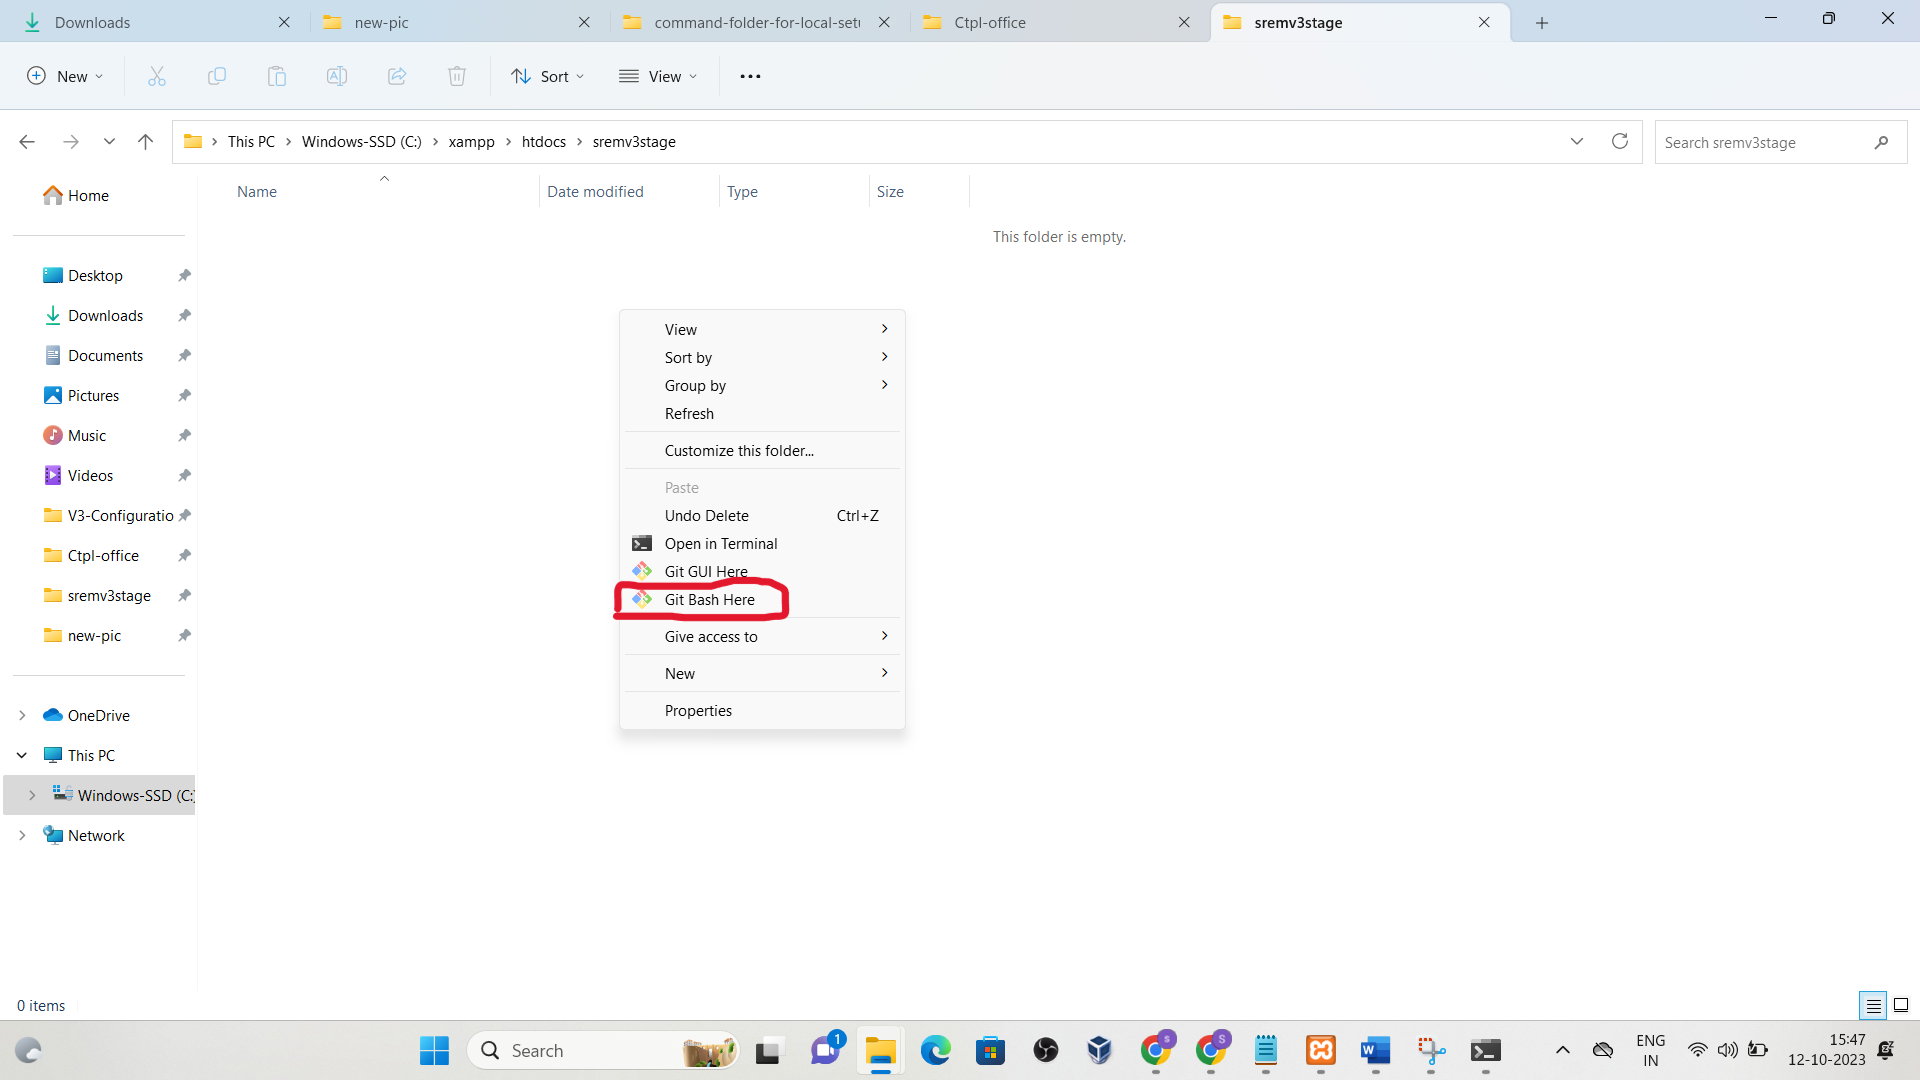
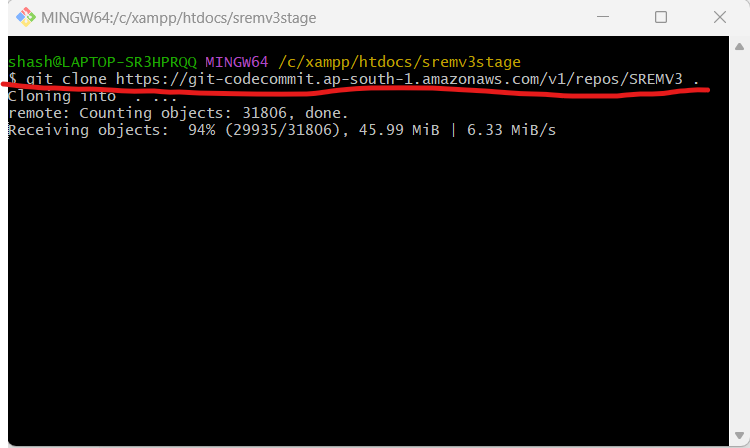
Step 5: Go in Terminal After that you have to clone with repo.
Follow this command:
# git clone https://git-codecommit.ap-south-1.amazonaws.com/v1/repos/SREMV3 .and press enter
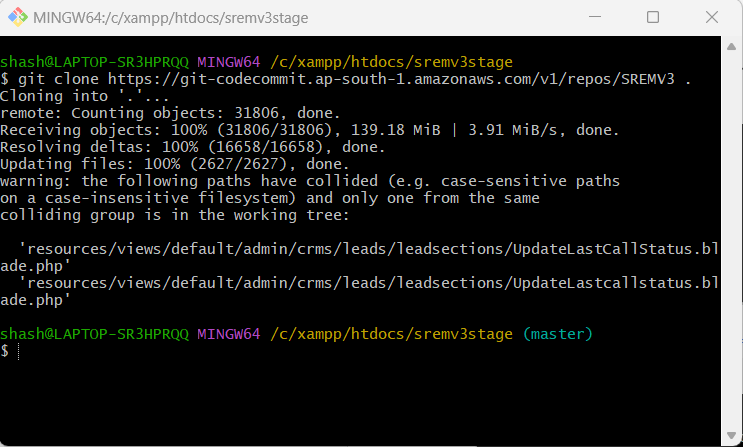
Step 6: After cloning. You can see this type of screen
Step 7: Go inside Project folder
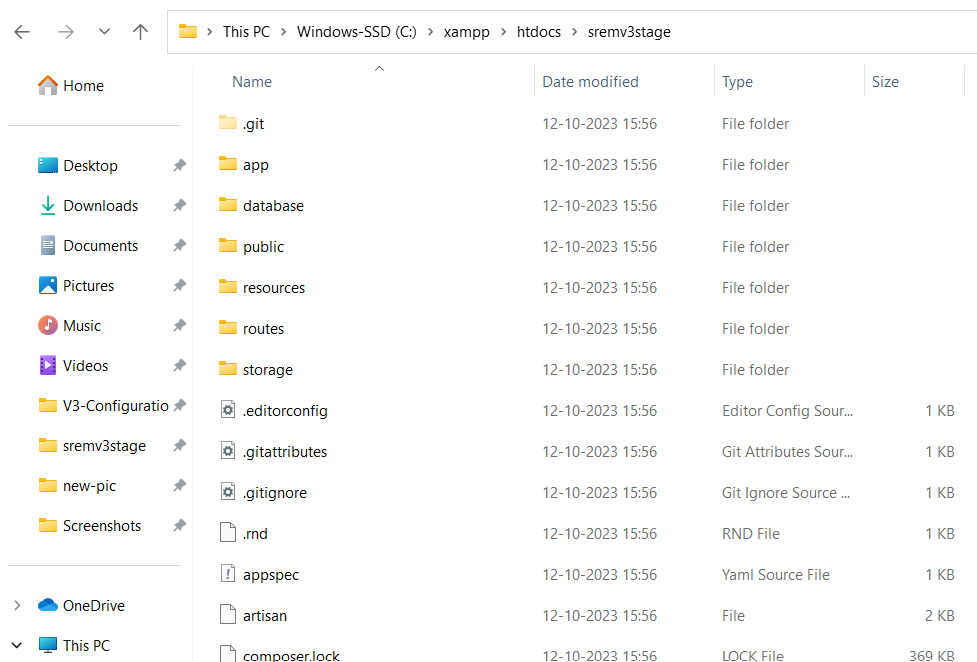
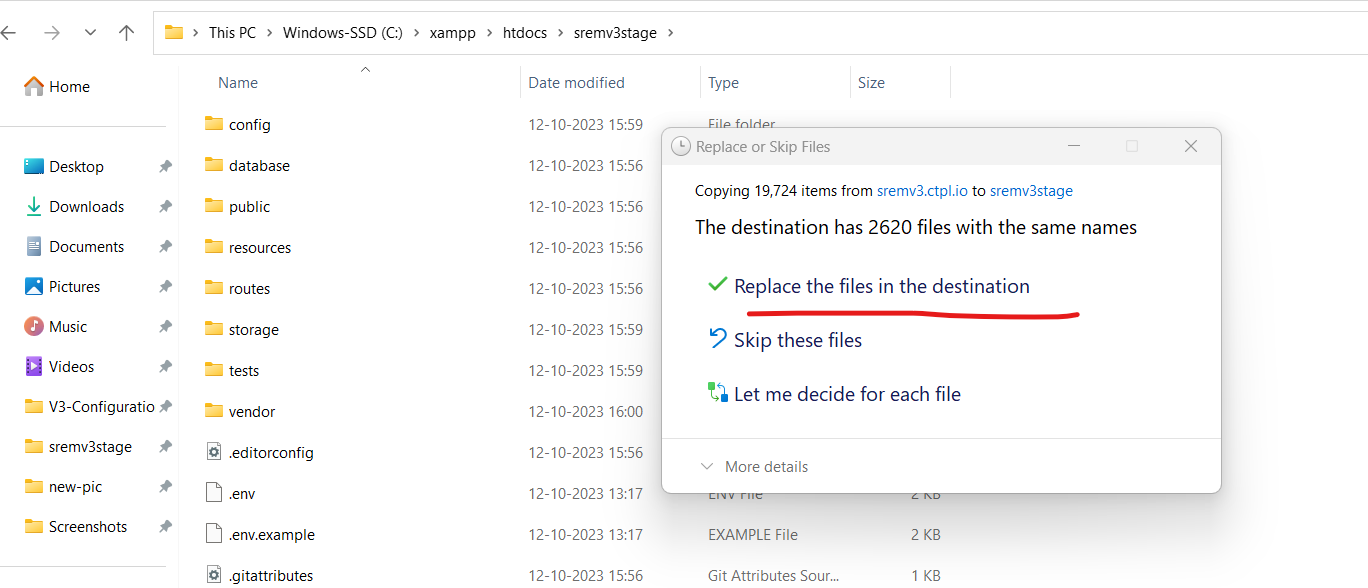
Step 8: Unzip the zip file provided by system admin and paste all files in the project folder and replace all.
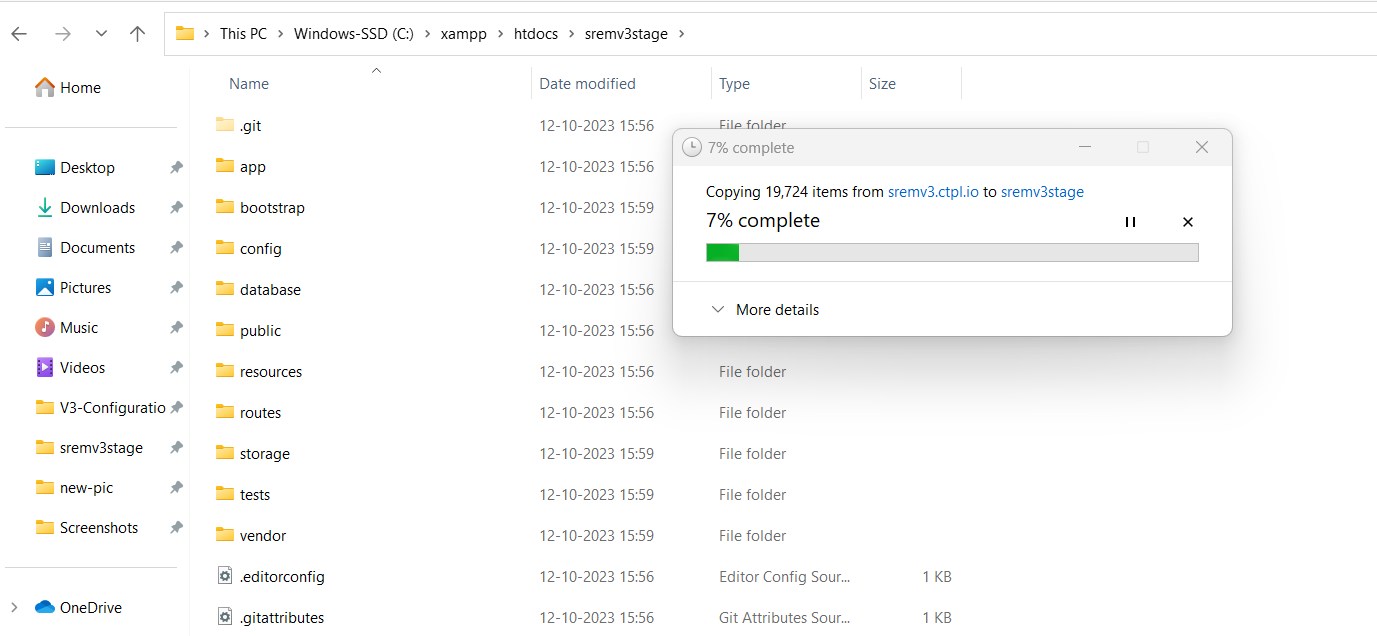
Click on Replace the files in the destination on that folder all file will replace.
DB Import Porcessing
Step 9: Database provide by System Admin related project and start process
- click on the xampp control pannel and start Apache and MySql server
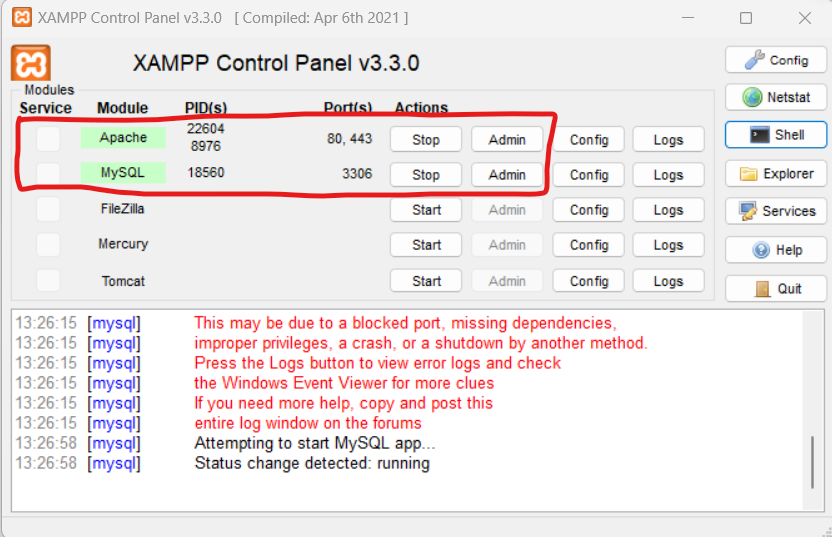
Step 10: Open shell terminal and follow thise command:
# mysql -u root -p
- And click enter after that again click enter, don’t put password and look this type of screen
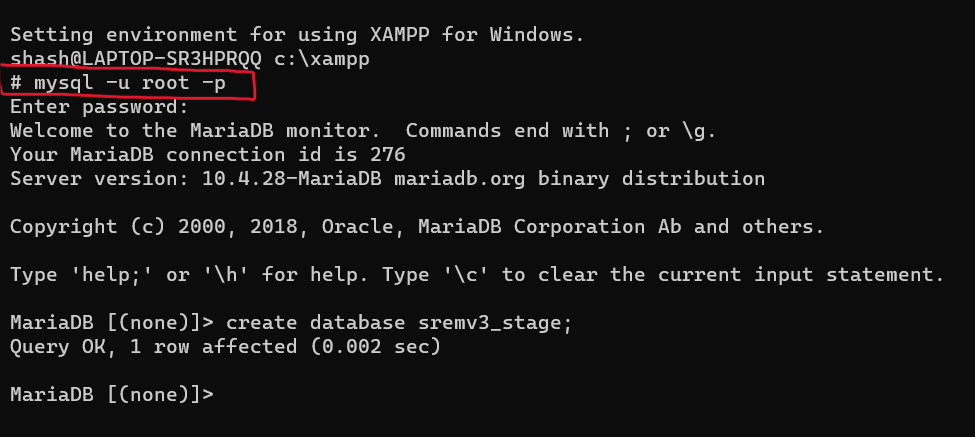
Step 11: After this process create database follow this command:
 # create database db-name(nnps_stage);
 # exit

Step12: Import database:
Follow this command:
# mysql -u username -p database_name < path_to_mysql_file.sql
For example:
# mysql -u root -p sremv3stage < C:\Users\shash\Desktop\Ctpl-office\sremv3.sql

Step 13: Go on Browser put this url >> http://localhost/phpmyadmin/
- Click on phpMyAdmin and show import database, you can see on dashboard
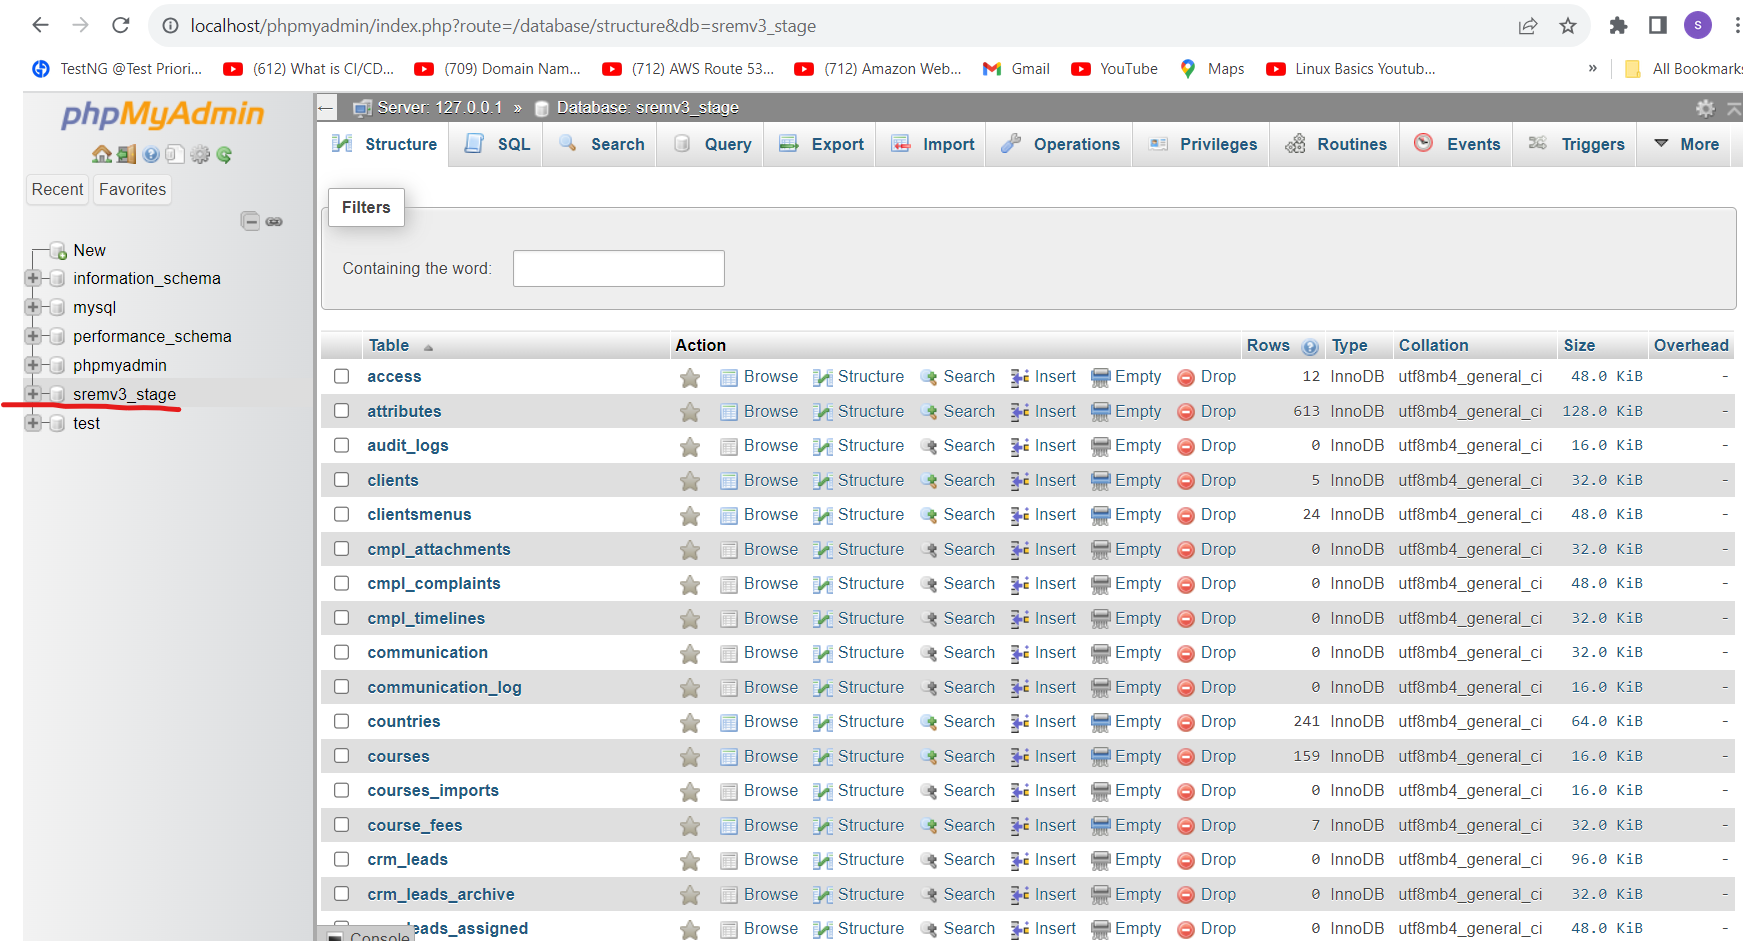
Step 14: After that change in .env file, like that
- DB_DATABASE=Database name (sremv3_stage)
- DB_USERNAME=root
- DB_PASSWORD=
Note: After this process open browser and put this url just like that
http://localhost/project-folder-name/public/
For Example: http://localhost/sremv3stage/public/

Queue Worker for Local Setup:-
Open website on browser and then
http://localhost/sremv3stage/public/
- Put Email id
- Click on Proceed button.

After this process
- Put Password
- Click on Submit button

Queue-Worker run on local System:- For SMS
Follow this command:-
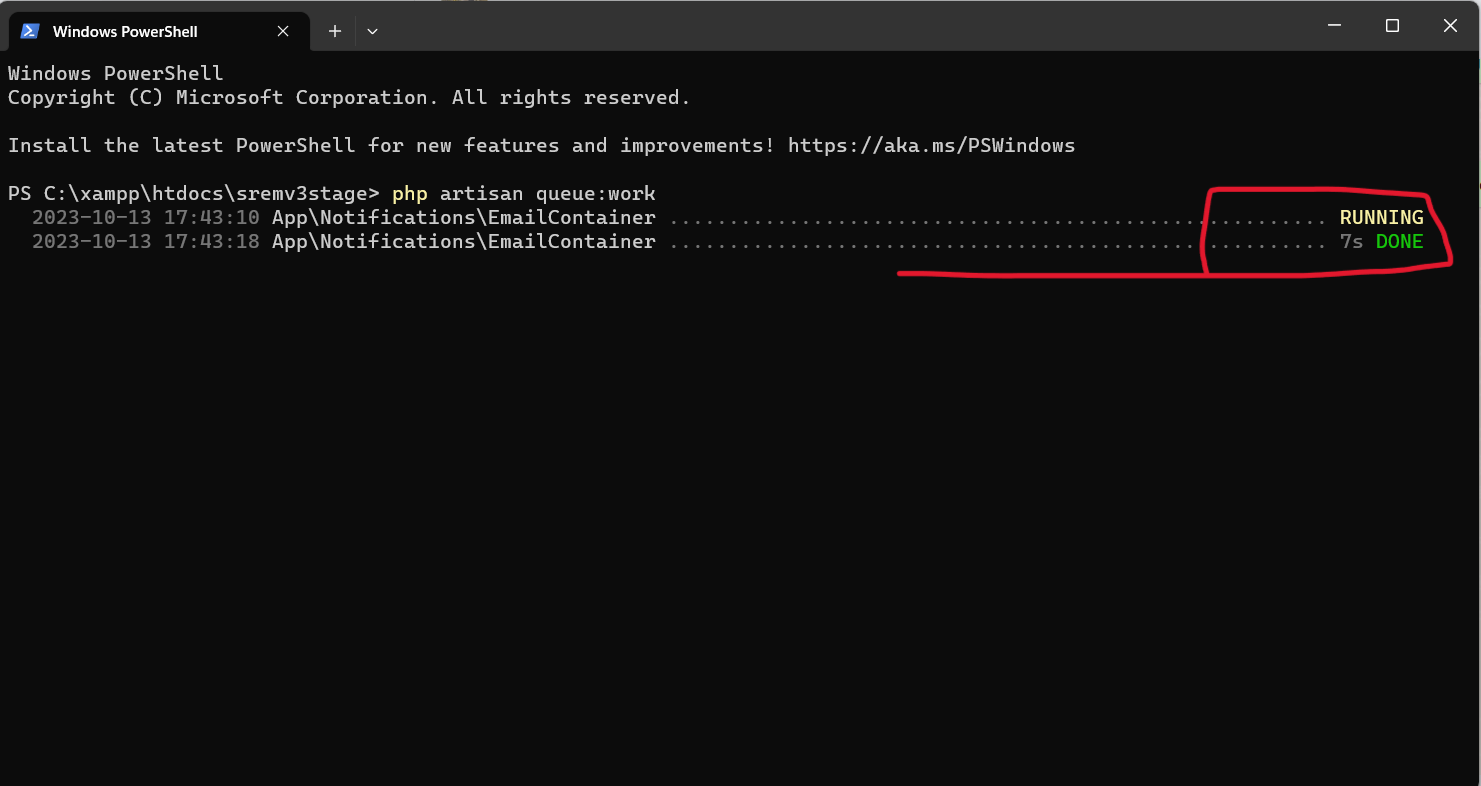
 #  php artisan queue:work
 #  Enter

After this show status on the screen
