Document Name: SREMV3_ Client Setup Document
Author- Puja Patar
Version- 1.1
Date- 19-08-2023
Manage Client
Setup Client
- Client List
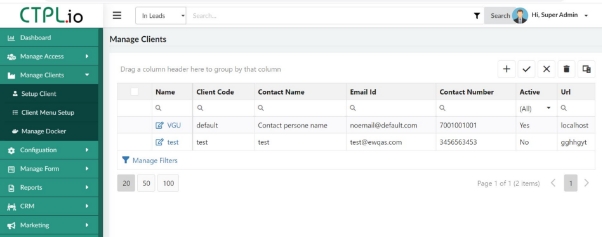
- Edit/Create Client setup
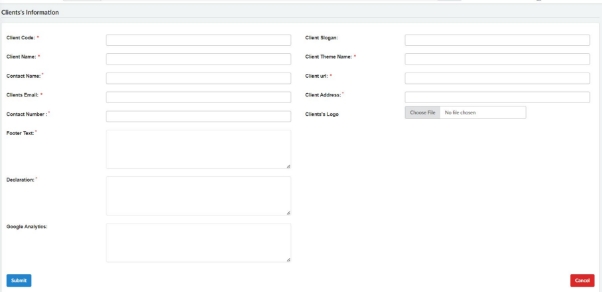
Add all the relevant details and create a project like name, Email, Mobile, Logo and theme etc.
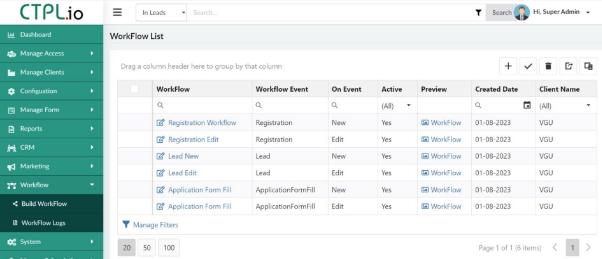
WorkFlow
Build Workflow
- Workflow List
Go to the Build Workflow, under the Workflow menu.
- Create workflow
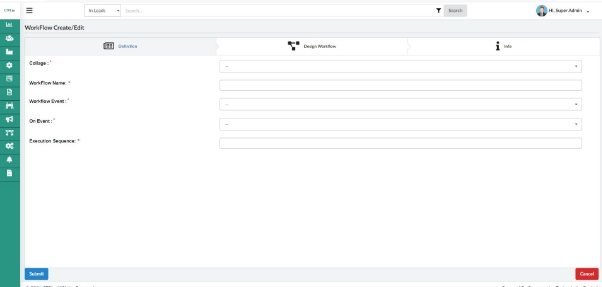
-
Definition
-
Design Workflow
-
Info
Manage Form
Manage Form Section
-
Edit and create Form section
- Company
- Section Name
- Section Layout
- Header Color
- Body Color
Manage Field
-
List of Fields Added
-
Edit/Create Field
- Company
- Field Name
- Display Name
- Display Type
- Custom Class
- Attribute For Options
- Form Section Groups
- Default Value
- Display Hint/Help Text
- Apply Validation Rules?
- Rule Type
- Operator
- Value
- Error Message
Form Manager
-
Already developed form list

Note: Do not delete the Default form while creating a new form.
- Edit/Create Form

- Client
- Form Title
- Form Display Style
- Summary Template
- Intermediate Payment
Click the link below to create an application form.
LINK:_________________________________
After creating the application form you can preview the form by clicking on the Preview button.
Setup Payment Gateway
-
Configuration>>Setup Client>>List of payment Gateway
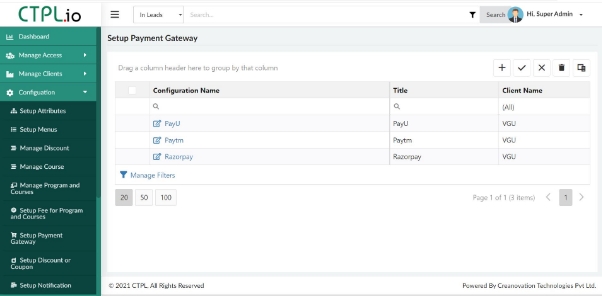
-
Create/ Modify Payment configuration
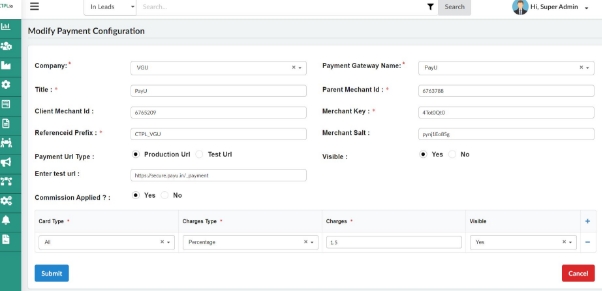
-
Company
-
Payment Gateway Name
-
Title
-
Parent Merchant Id
-
Client Merchant Id
-
Merchant Key
-
Referenceid Prefix:
- CTPL_SREM_Year: If mention “Year” then it will take current year while generation the transaction ID
- CTPL_SREM_2023:If you mention any static value like 2023 or 2024 then the transaction ID will generate with static value.
-
Merchant Salt
-
Payment URL Type
-
Visible
-
Enter Test url
-
Commision Applied
-
Card Type
-
Charges Type
-
Charges
-
Visible
Manage Course
-
Configuration>>Manage Course>>List of program
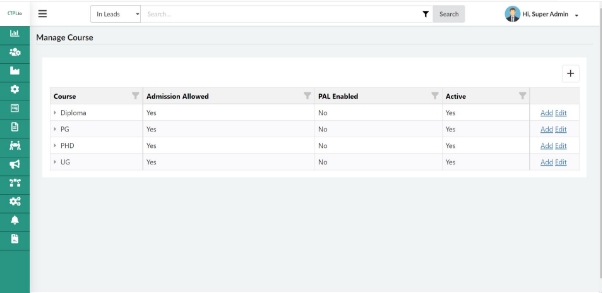
-
Add new Program and courses
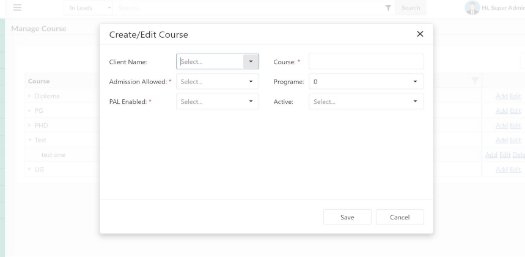
-
Client Name
-
Course: Add Program name
-
Admission Allowed:If choose “No” then it will not display in landing page program list but it will display in CRM and Filters.
-
Program: Program should be “0” while adding new program
-
PAL Enabled
-
Active: If choose “No” then it will not display anywhere.
-
Add courses in Existing program
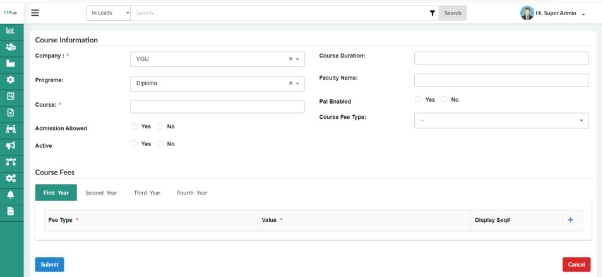
- Company
- Course Duration
- Program
- Faculty name
- Course: Add new courses
- Admission allowed: If choose “No” then it will not display in the landing page program list but it will display in CRM and Filters.
- PAL Enabled
- Course fee type: Choose PAL Fee structure year/semester wise
- Active: If you choose “No” then it will not display anywhere.
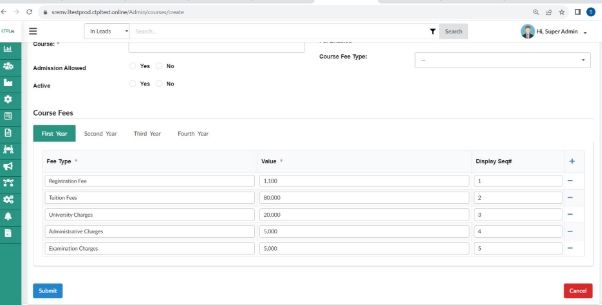
- Course Fees: Add course fees as per the Year wise or Semester wise
- Fee Type:
- Value:
- Display Seq#:
Manage Program and Course
- Configuration>>Manage Program and Courses>>Program With Form Configuration
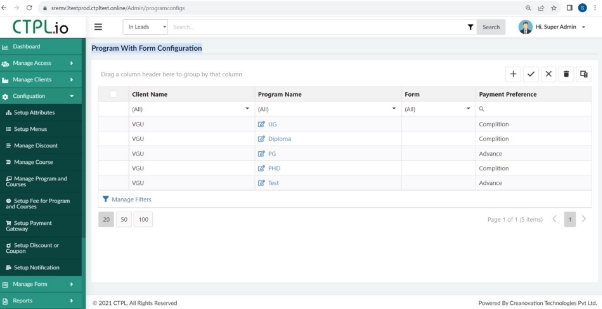
- Create/Edit for New program and courses
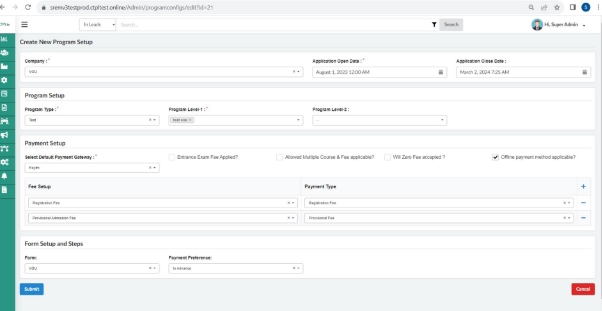
-
Company
-
Application open date
-
Application close date
-
Program Setup
- Program Type: Select program
- Program Level-1: Select Course
- Program Level-2: Select All
-
Payment Setup
- Select Default payment Gateway: Which will come in frontend payment page with Autoselect of gateway
- Entrance exam applied?
- Allowed multiple course and fee applicable
- Will zero fee be accepted?
-
Fee Setup
-
Payment Type
-
Form setup and steps
- Form
- Payment preference
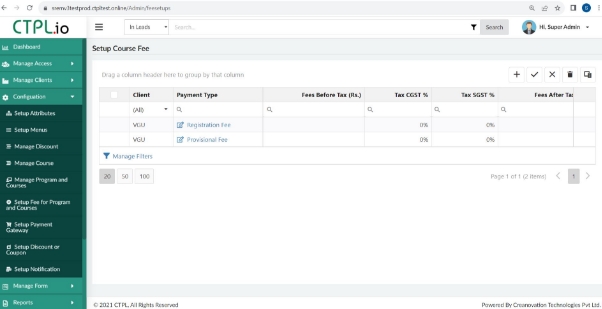
Manage Fees for Program and Course
-
Configuration>> Setup fee for program and courses >>Setup course fee
-
Create/Modify Fee Setup

- College
- Payment Type
- Payment Type
- Title
- Amount
- Tax CGST%
- Tax SGST%
Attribute>> Notification Variable
-
Configuration>> Setup attributes >>Notification Variable

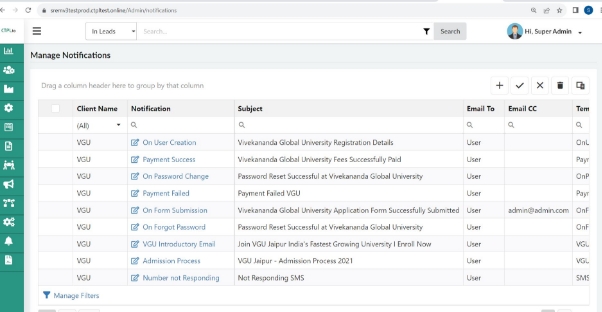
Setup Notification
-
Configuration>> Setup Notification>>Manage Notification
-
Create Notification
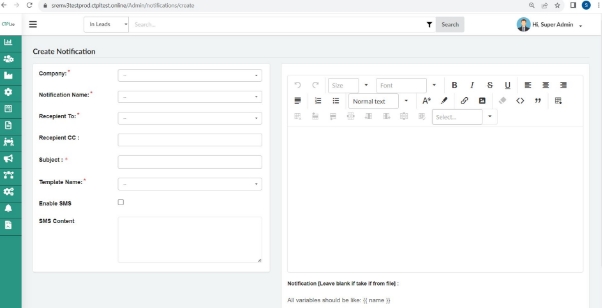
- Company
- Notification Name: It will come from Attribute>> Notification
- Recipient To
- Recipient CC
- Subject
- Template Name: This need to be added in code then it will come here in dropdown
- Enable SMS
- SMS Content: This must be Approved in DLT with Sender ID which is added in Attribute>> Notification Variable
Marketing
- Marketing>>Template Manager>>Template List(s)
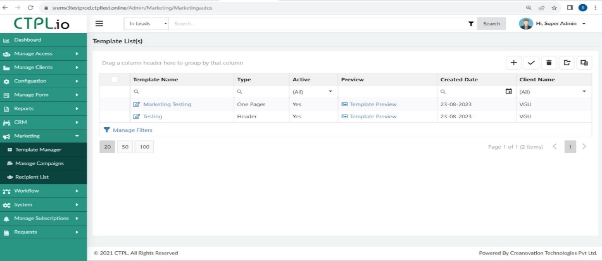
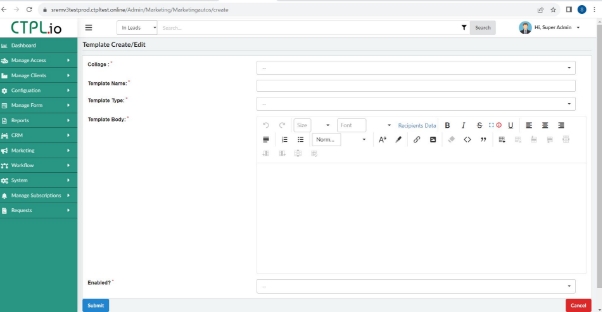
- Create/Edit Template
-
College
-
Template Name
-
Template Type: Choose template types like One pager, Header, Footer or Body.
-
Template Body
-
Enable
-
Marketing>> Manage Campaign
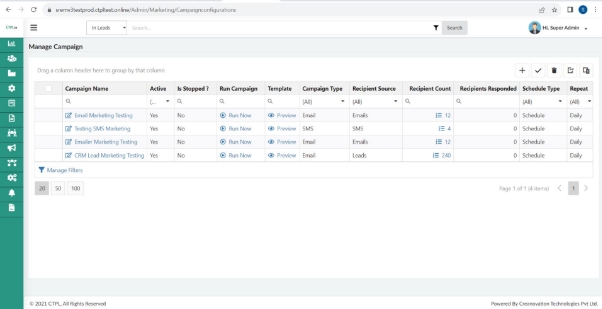
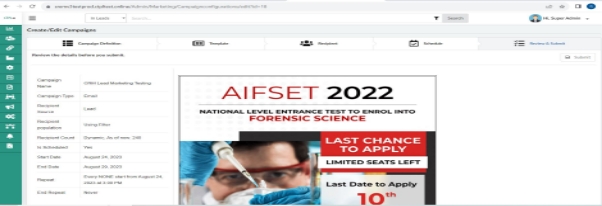
- Create/Edit Campaigns: Need to fill up below sections
- Campaign Definition
- Template
- Recipient
- Schedule
- Review and Submit
1.Campaign Definition
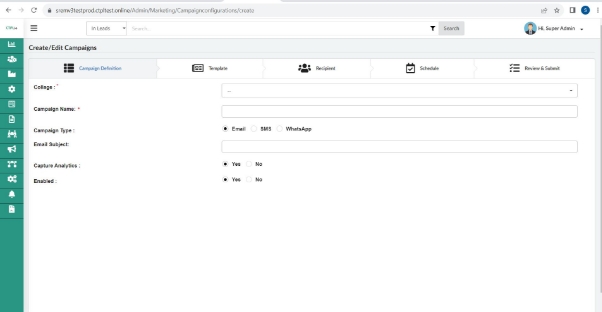
- College
- Campaign Name
- Campaign Type:
- Email Subject: When you choose Email as your campaign type, then this field will be visible.
- Capture Analytics
- Enabled
2. Template
Template: Here three types of template are there.
-
Select from the system
-
My Custom HTML
-
Build New
-
Select from the system
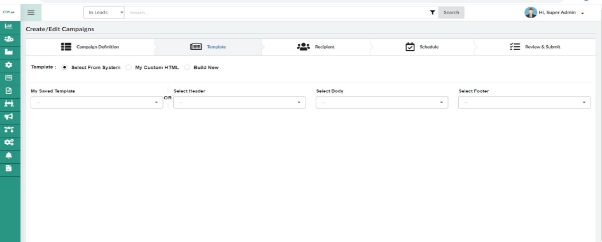
- My Saved Template: The list will visible which has been added in Template Manager
(Or)
- Select Header: The list will visible which has been added in Template Manager
- Select Body: The list will visible which has been added in Template Manager
- Select Footer: The list will visible which has been added in Template Manager
- My Custom HTML
You can upload a custom HTML Page here.
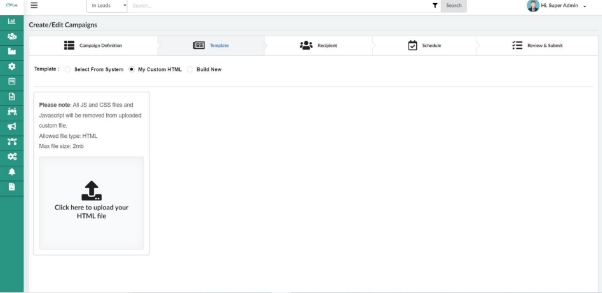
Note:All JS and CSS files and Javascript will be removed from the uploaded custom file.
Allowed file type:HTML
Max File Size: 2MB
- Build New
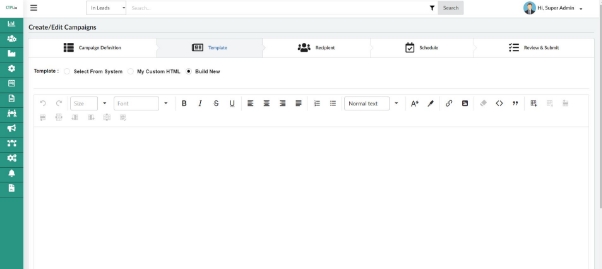
Create a customised template here which will not save further in the template manager.
3. Recipient
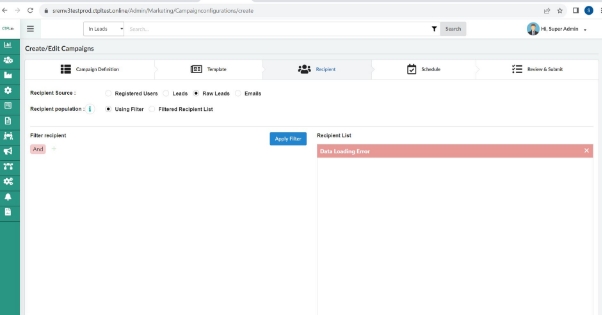
- Recipient Source: Registered User, Leads, Raw Leads - We can apply filters to filter the data and the output will display in the recipient list to use for marketing campaigns.
Email: We can add email manually to use for marketing campaigns.
SMS: We can add numbers manually to use for marketing campaigns.
Wati:
- Recipient population:This will be visible while choosing “Registered lead, Leads, Raw Leads” in the recipient source.

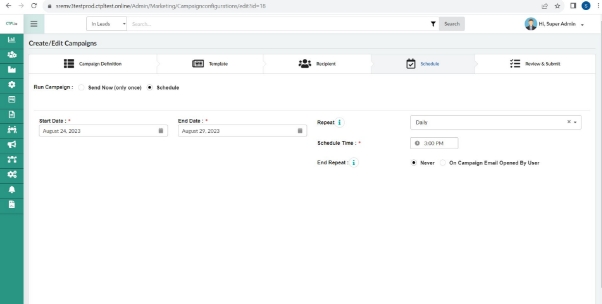
4. Schedule
-
Run Campaign: Send Now(Only Once), Schedule
-
Start Date
-
End Date
-
Repeat:-
- No Repeat- Campaign will run once on start date at schedule time.
- Daily-Campaign will run every day starting from the start date at given schedule time.
- Weekly-Campaign will run from the start date at a given schedule time for a selected date.
- Monthly- Campaign will run once in a month of a start date at a given schedule time.
-
Schedule Time
-
End Repeat
- Never- Campaign will stop on End date.
- On Campaign email Open by User- Campaign stop sending to user once email opened.
5. Review and Submit:Review the details before you submit.
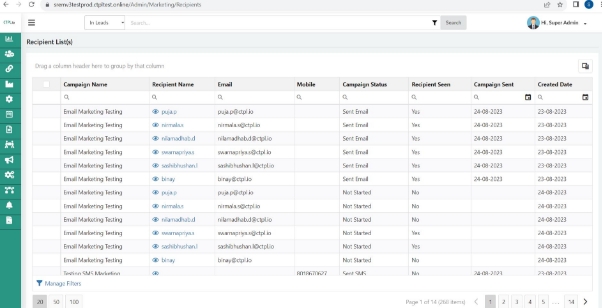
- Marketing>>Recipient list
MCAP Setup
- CRM>>MCAP Setup
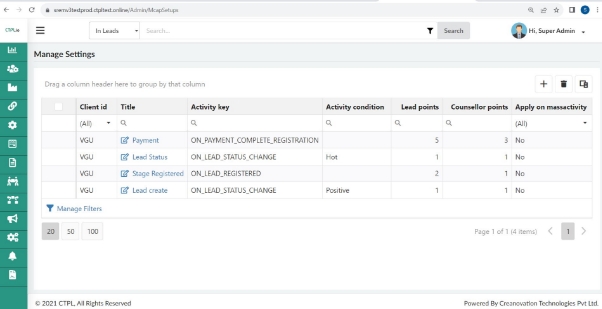
- Create/ Modify Mcap setup
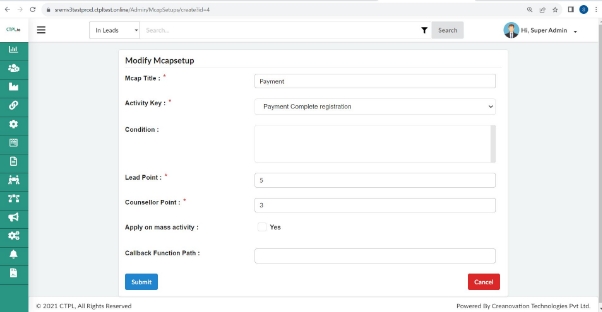
- Mcap Title
- Activity Key
- Condition: It is a dependency field of activity key.
- Lead Point
- Counsellor Point
- Apply on Mass activity
- Callback Function Path: This function is used for future implementation.
PAL Setup