Installing XAMPP server for local setup(php 7.2, mysql 5.7) --V2:
Our XAMPP tutorial will take you through the installation process for the software package on Windows.
Click on the Link:
Step1: After you’ve opened the .exe file.
xampp-windows-x64-7.2.34-2-VC15-installer
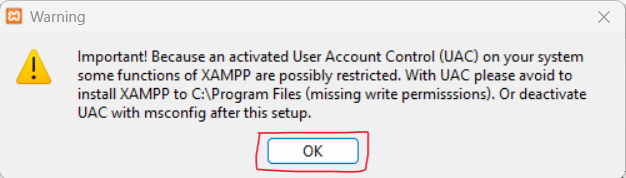
Click on OK button
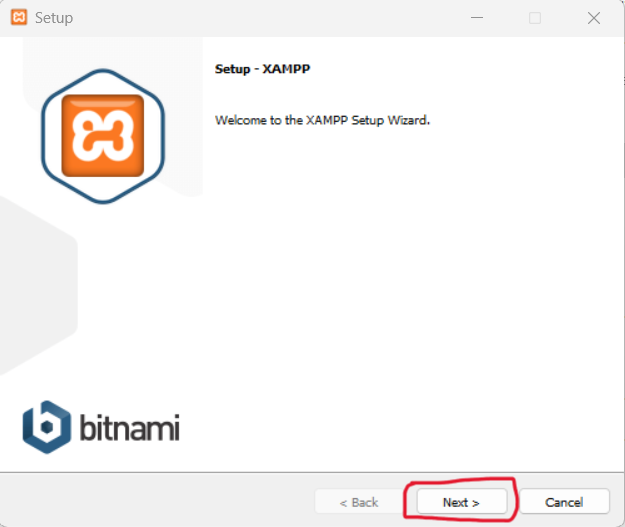
Click on ‘Next’ to configure the installation settings
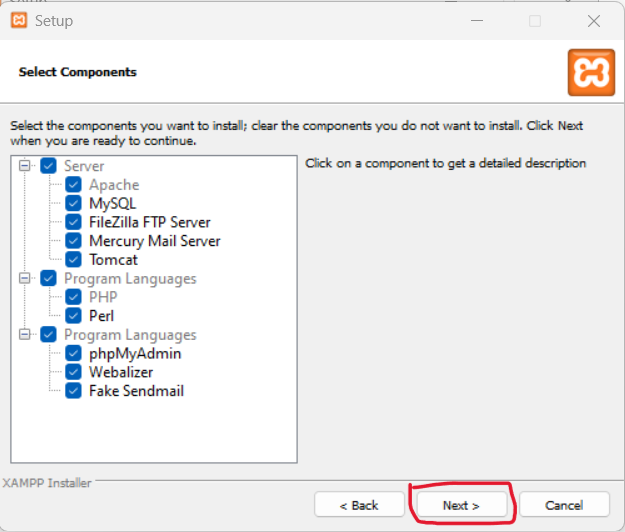
Step 2: Choose software components
Under ‘Select Components’, you have the option to exclude individual components of the XAMPP software bundle from the installation. But for a full local test server, we recommend you install using the standard setup and all available components. After making your choice, click ‘Next’.
Step 3: Choose the installation directory
In this next step, you have the chance to choose where you’d like the XAMPP software packet to be installed. If you opt for the standard setup, then a folder with the name XAMPP will be created under C:\ for you. After you’ve chosen a location, click ‘Next’.

Step4: After That click on Next Button
Step5: Click on next button

Step6: Again Click on Next Button

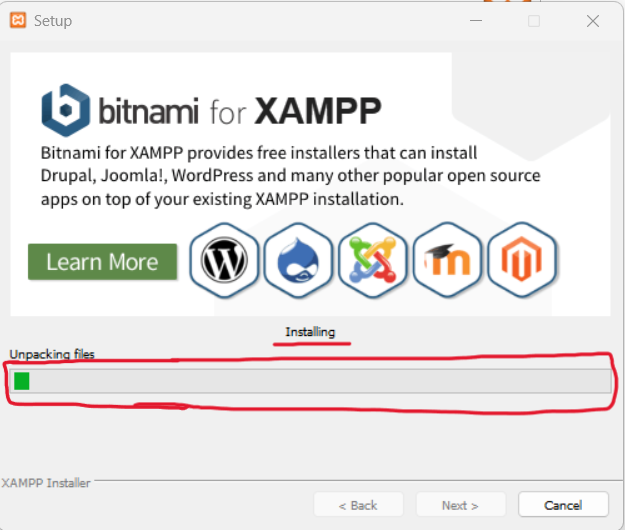
Step 7: Start the installation process
Once all the aforementioned preferences have been decided, click to start the installation.
Step 8: Complete installation
Once all the components are unpacked and installed, you can close the setup wizard by clicking on ‘Finish’. Click to tick the corresponding check box and open the XAMPP Control Panel once the installation process is finished.
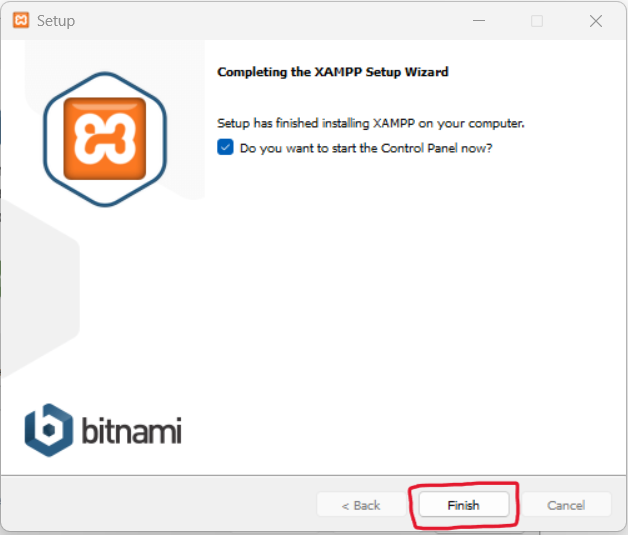
Note: By clicking on 'finish', the XAMPP Setup Wizard is completed
The XAMPP Control Panel
Controls for the individual components of your test server can be reached through the XAMPP Control Panel. After that display this Page you can start Apache and MySQL server
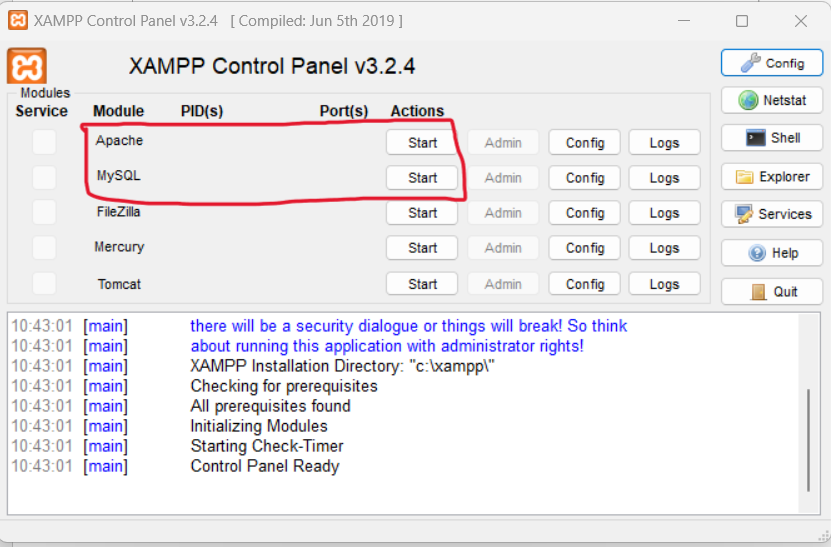
In the Control Panel, you can start and stop individual modules
Starting modules
Individual modules can be started or stopped on the XAMPP Control Panel through the corresponding buttons under ‘Actions’. You can see which modules have been started because their names are highlighted green under the ‘Module’ title.
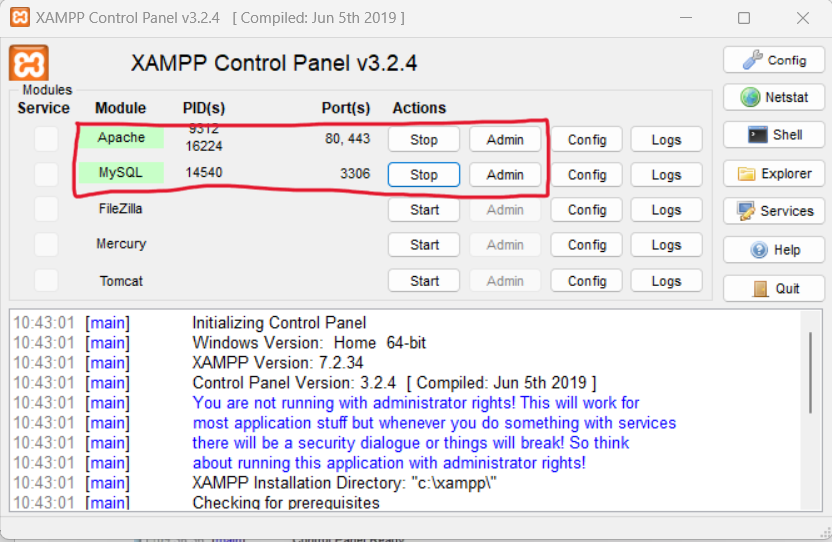
Note: An active module is marked in green in the Control Panel
Module administration
- You have an ‘Admin’ option located on the Control Panel for every module in your XAMPP.
- You can reach the dashboard through localhost/dashboard/.
- The user will be redirected to the local dashboard of XAMPP.
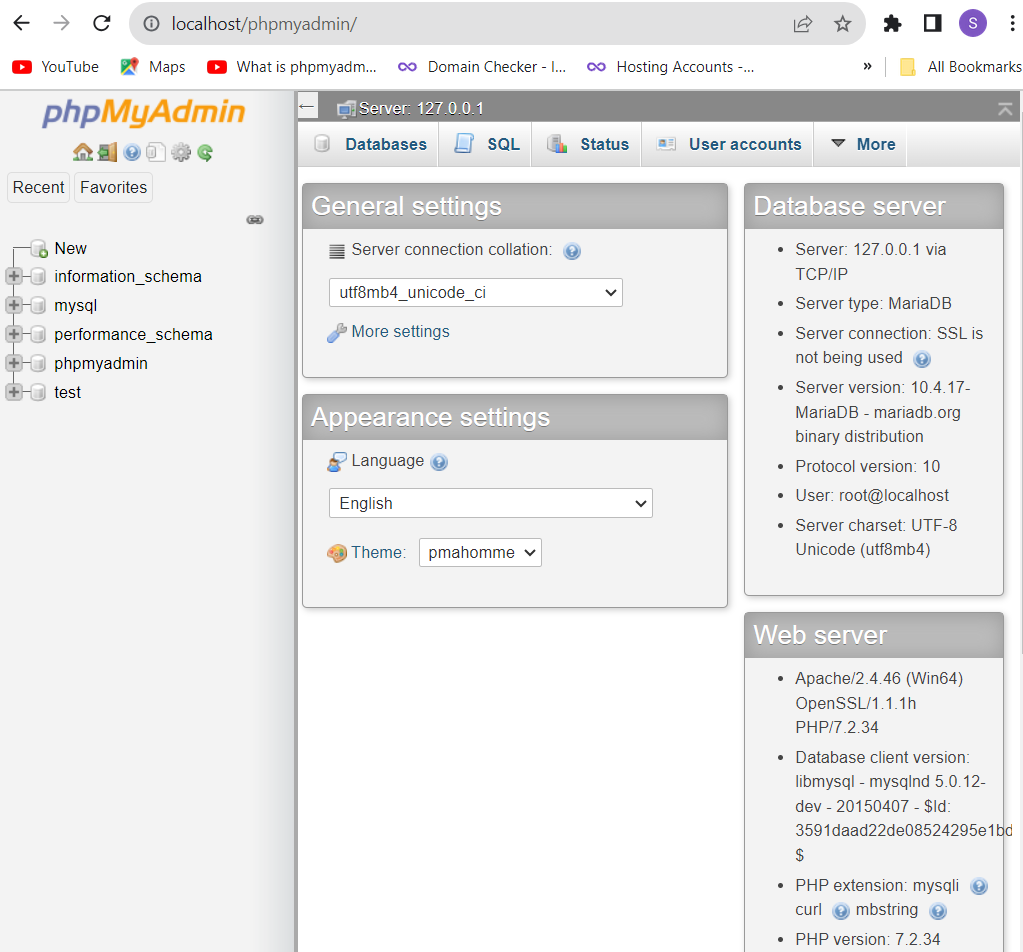
- Here, you can manage the databases of your web projects that you’re testing on your XAMPP. Alternatively, you can reach the administration section of your MySQL database via localhost/phpmyadmin/.
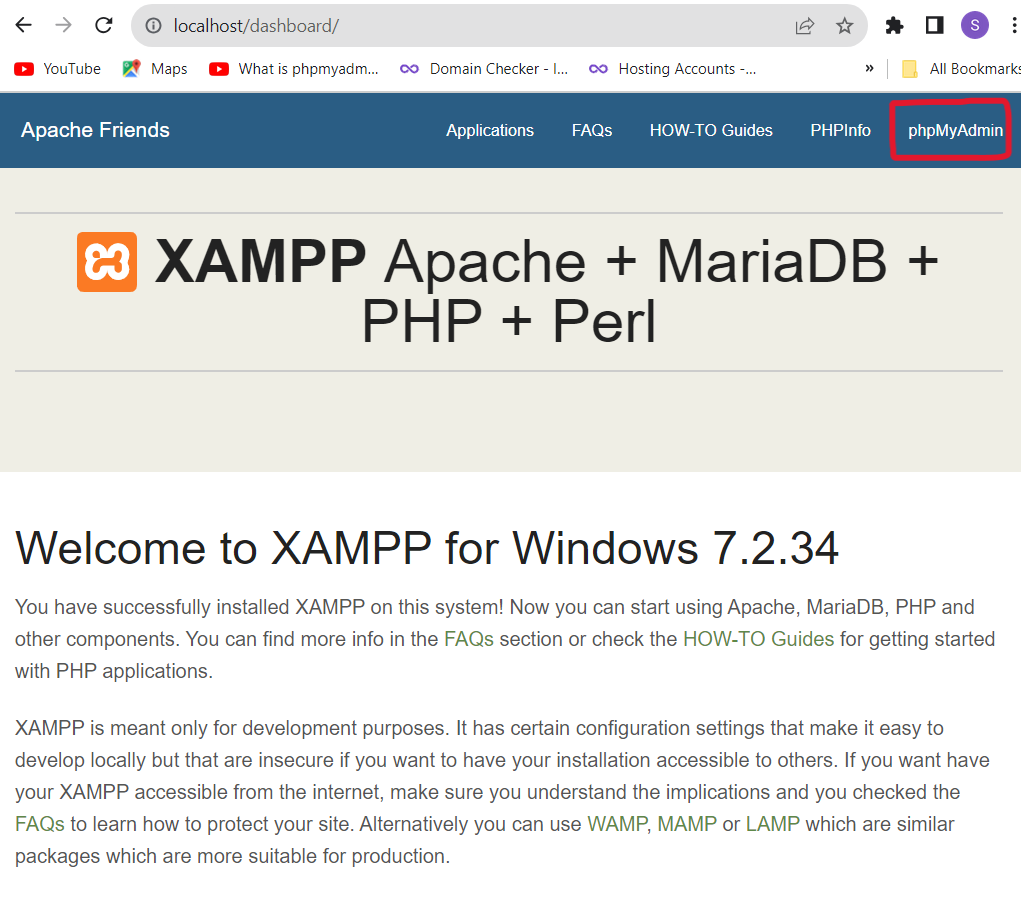
Step 9: After that click on phpMyAdmin for import local DB
Step10: Testing your XAMPP installation
- Open the XAMPP directory through the ‘Explorer’ button in the Control Panel and choose the folder htdocs (C:\xampp\htdocs for standard installations). This directory will store file data collected for web pages that you test on your XAMPP server. The htdocs folder should already contain data to help configuration of the web server. But you should store your own projects in a new folder (like ‘Test Folder’ for example).
- You can create a new PHP page easily by using the following content in your editor and storing it as test.php in your ‘test’ folder (C:\xampp\htdocs\test):
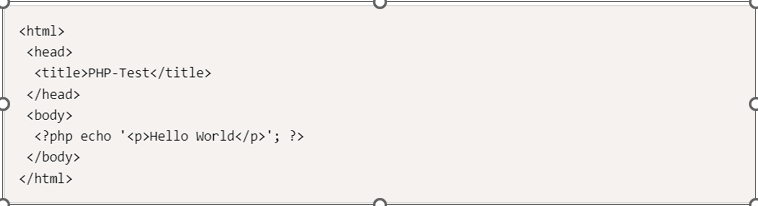
The last step now is to open your web browser and load your PHP page via localhost/test/test.php. If your browser window displays the words ‘Hello World’, then you’ve successfully installed and configured your XAMPP.